 Add Images Add Images

Adding a picture.
To add a picture from a stored file click on the Picture icon. A stan dard browse box will appear from which a picture file may be selected.
The file formats supported include:
• JPG
• TIFF
• PSD
• PNG
• GIF
• ICO
• WMF
• TGA
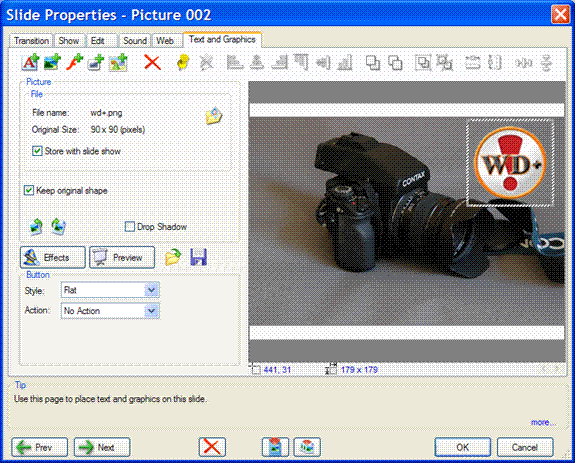
After an image file has been selected the image appears in white box from which it can be resized or moved.
Right clicking on the selected image exposes the Copy Cut and Paste dialog.

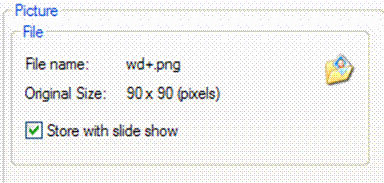
Figure 31 Picture panel. The Picture panel as shown above appears in the Text and Graphics tab.
The file name and size are shown at the top of the panel. Checking the Store with sl ide show box will include the image in the .FLK file and .FLT files. This supports the creating of templates that include the content.

Selecting the Keep original shape box will maintain the aspect ratio (shape) of the image as it is resized. Un- checking this box allows the image to be starched in any direction independently.
Clicking on the rotate icons will cause the image to rotate 90 degrees in the direction of the arrow in the selected icon.
The selected image may be animated by clicking on the Effects button. (See the section on Effects) The timing and animation effects are applied and control from the Effects Dialogs.
Checking the Drop Shadow box will add a drop shadow effect to the image.
All of the Operation and Control functions may be applied to an image or group of images (see the section on Operation and Control Functions ),
Any image may be converted to an animated button by applying properties from the Button panel. The section on Creating Buttons explains this in detail.
|

