|
Image Smoothing and Antialiasing
In this example we show the use and
effects of the Pre
Picture function in reducing
unwanted moiré (aliasing) effects caused by scaling sharp edges in
a Movie. The example given uses a very simple movie of a zoom
in on the man's sweater. The sweater and his jacket are
highly textured and have lots of edge detail. It is these
types of "edge" features in an image that contribute to the moiré
effect.

Step 1
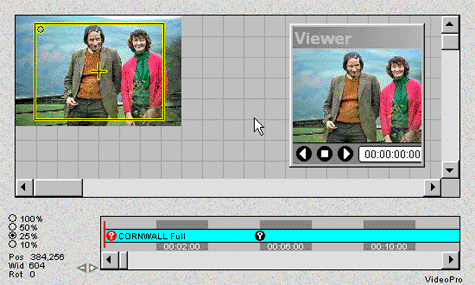
The image file of the couple is loaded and a "wide view" is
selected. See Example 1 for
details on this operation.
Step 2 A movie segment is
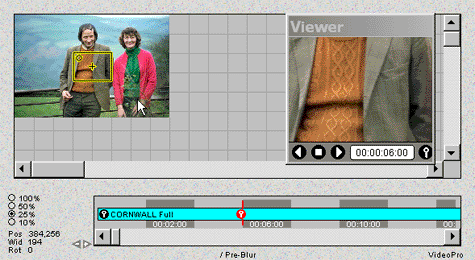
created by zooming in on the mans sweater.
Step 3 An SWF file is
created by selecting
Make Flash SWF
File. Movie in Figure 3 is now created. Pre-Blur is not
enabled in the SWF in figure 4
Step 4 From the
Edit Menu select
Prep Picture.
The Pre-Blur
indicator will appear at the bottom of the screen as shown in
Figure 2.
Step 5 As in Step 3
create a new SWF file. Figure 4 shows movie created with
Pre-Blur enabled.
Note the lack of moiré in the SWF file in figure 4. Not every
movie requires using
Pre-Blur. The best way to determine if Pre-Blur is
required is to make the Movie with Pre-Blur disabled. If it
looks good to you...your done. If you have undesirable moiré
effects than turn on the Pre-Blur function.
Figure 1 First KeyFrame

Figure 2 End of motion segment Note
Pre-Blur is indicated at bottom of screen shot
t. |